CUSTOM BRUSHES & ACTIONS
For Beauty Retouch Mini Version
Got Questions? Visit RA Panels Knowledge Base
After you have installed and activated your Beauty Retouch UXP Mini panel, please install and activate our custom Tool Presets via the following steps:
Step 1: Locate the Tools Folder
Inside the downloaded and unzipped installation package, locate the BR_UXP_Tools folder.
We created the BR_UXP_Tools_Installer_2023.jsx script to help you automatically place our custom Tool Presets (.tpl) files necessary for your UXP panel into their respective Preset folders on your computer for Photoshop to be able to use them.
🚨 However, if the .JSX script file does not work on your computer, please place these files into the respective Photoshop folders manually by following these steps.
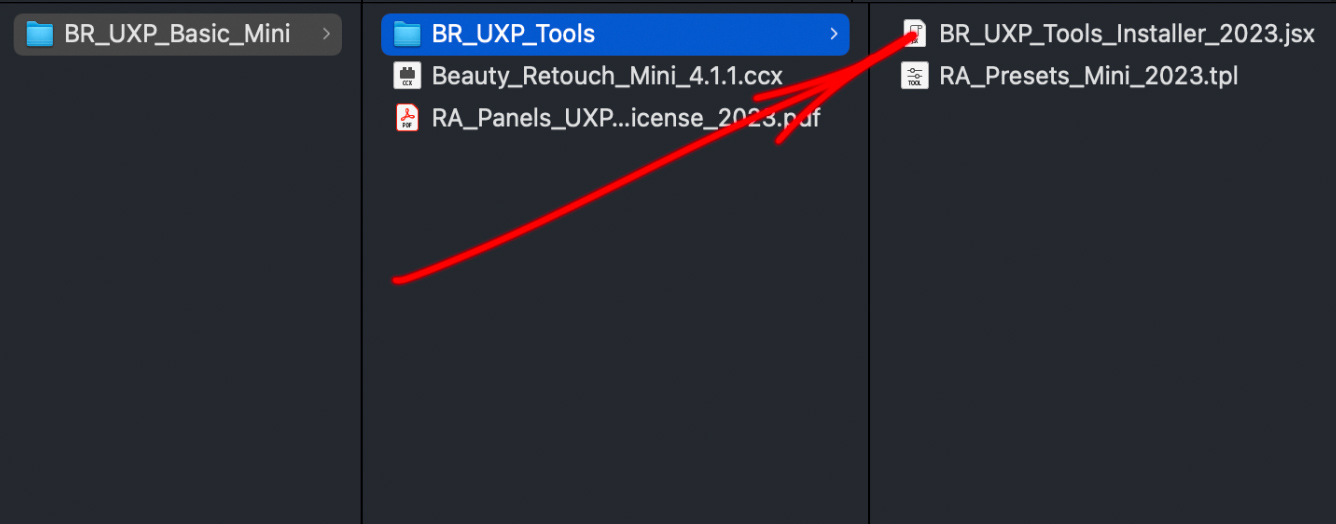
Your installation package folder may contain other files and folders depending on the type of RA panel you have purchased.
Step 2: Run the Installation Script
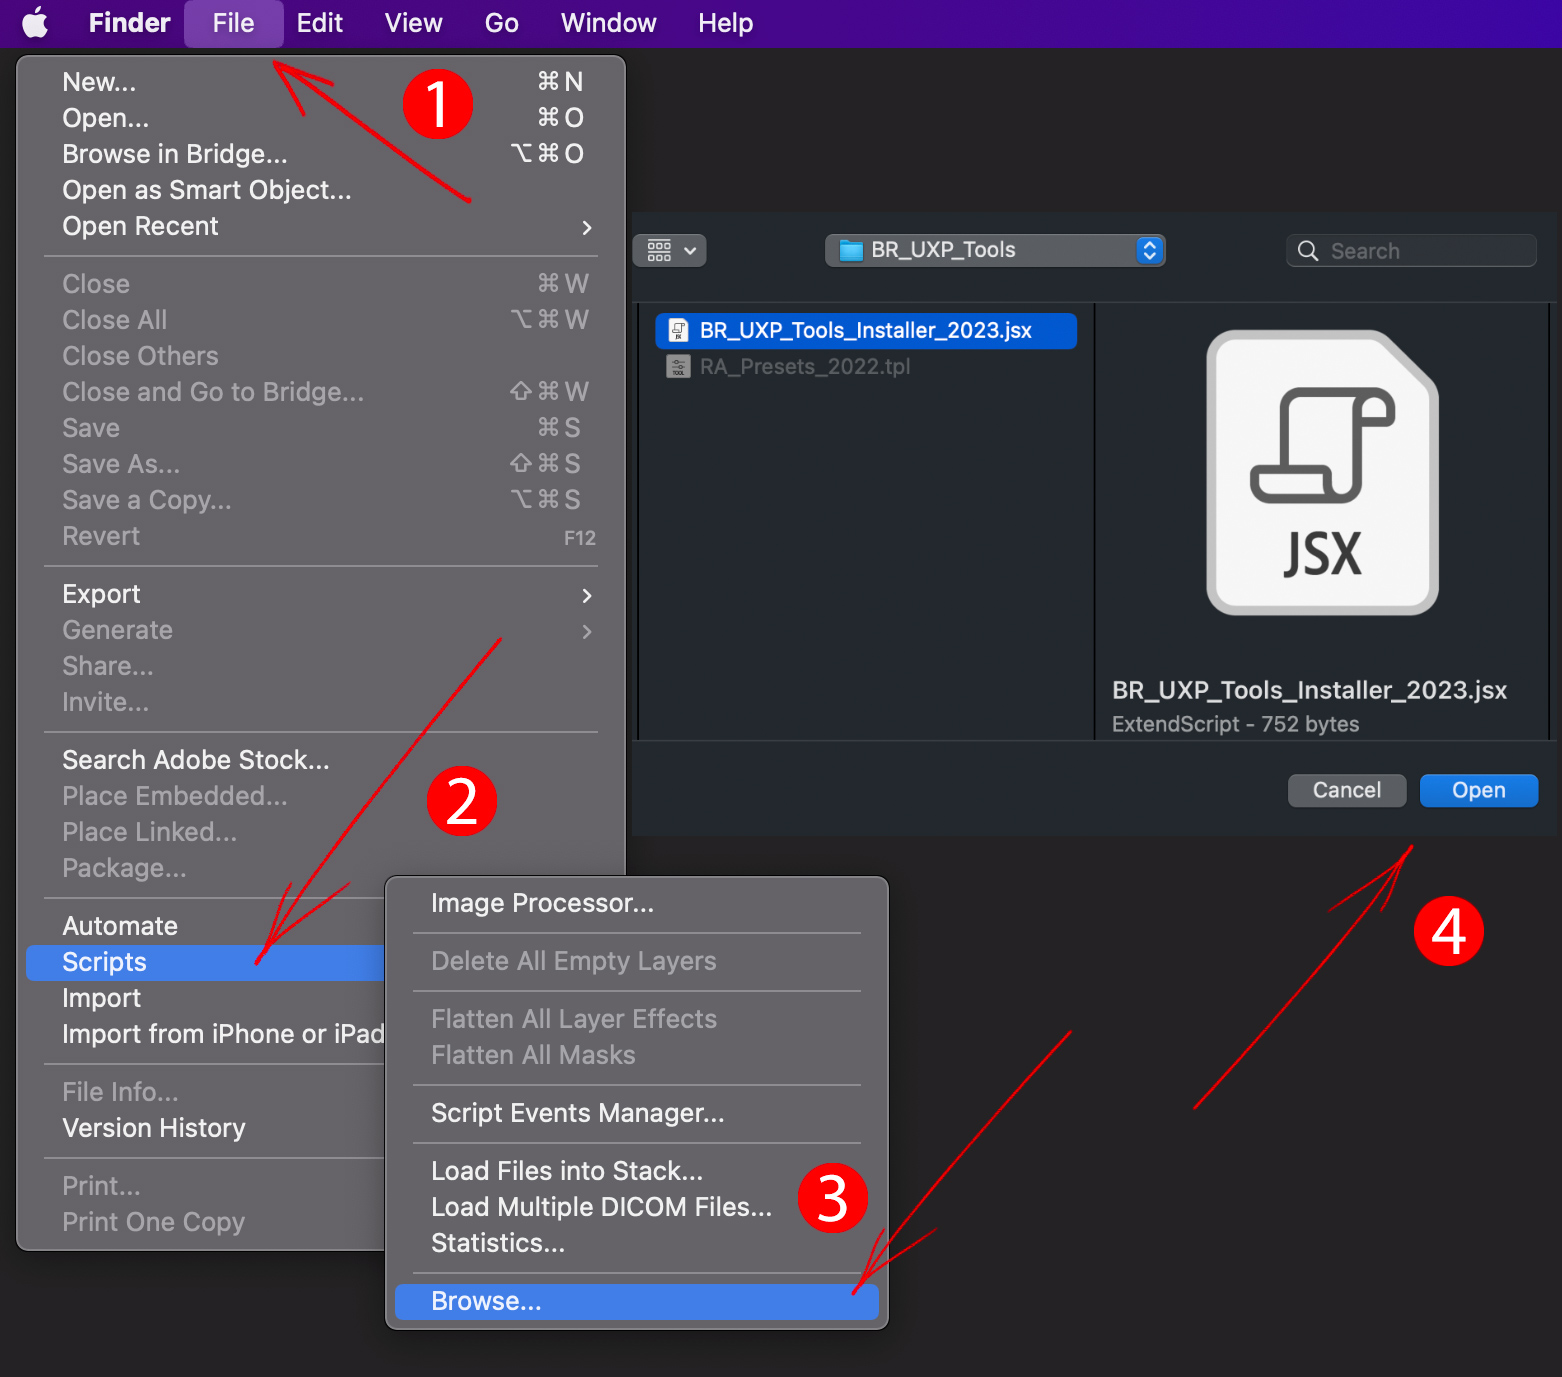
In Photoshop, open File > Script > Browse… and locate the BR_UXP_Tools_Installer_2023.jsx script file.
Press Open. Notification Presets installed will pop up, press Ok.
Troubleshooting:
If the installation was not successfully completed, please move on to these steps instead. It is possible if the destination folders on your computer have limited permissions.
Step 3: Tool Presets Activated
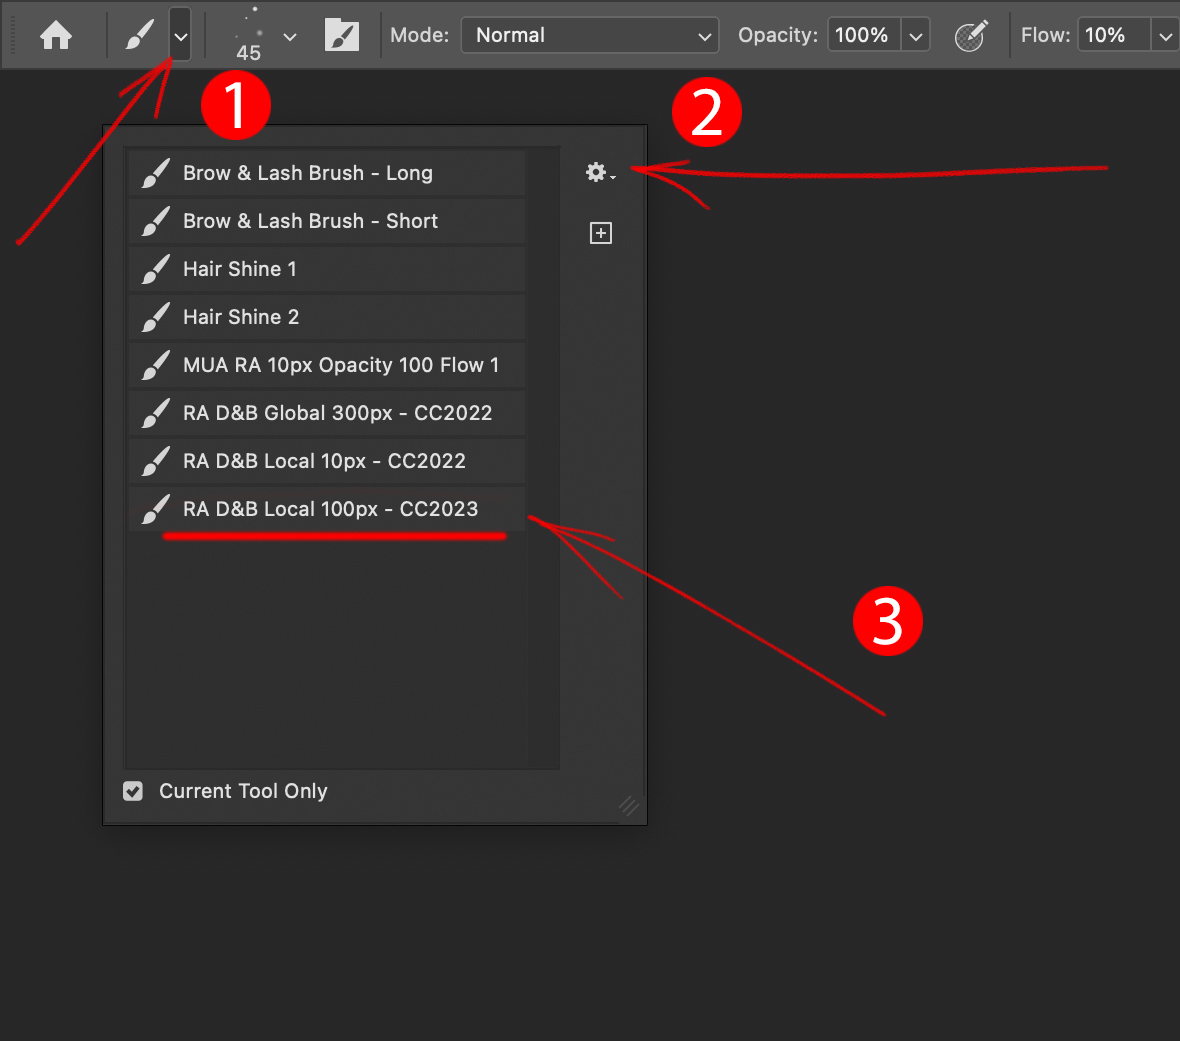
Once the Tool Presets are installed using our script as described above or manually, you will see the following Tool Presets appear in the Tool Preset Picker for the Brush tool:
-
- RA D&B Local 100px – [version]