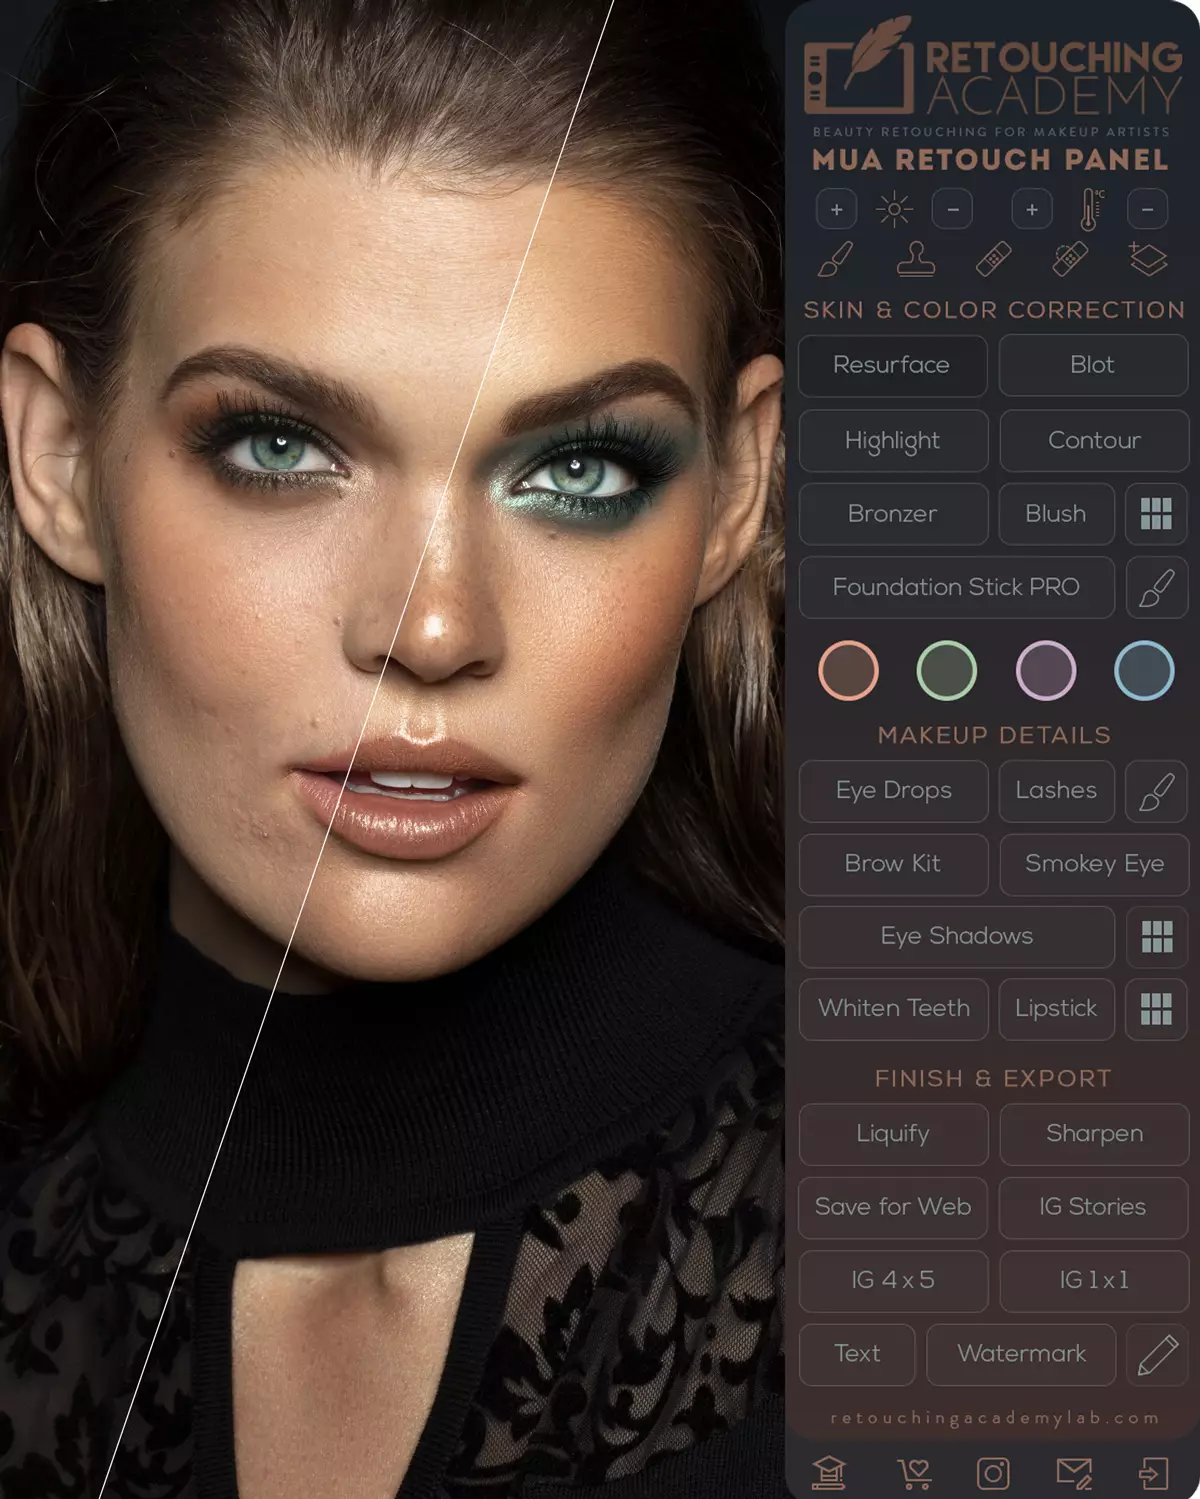
MUA Retouch Panel Video Tutorials
Find detailed video tutorials for every button on the panel below. New to retouching? Take our free Photoshop Essentials for Beauty Retouching course for beginners first.
Introduction & Overview
Don't skip these introduction videos — they'll help you get the most out of the MUA Retouch panel from day one.
Introduction tutorial — don't skip
Installation Steps
Get the panel installed and set up in Photoshop quickly, and learn the essential first steps before you start retouching.
Introduction tutorial — don't skip
Panel Functions Overview
What every section and button on the panel is for, and how each one can improve and speed up your retouching.
Introduction tutorial
Tools & Adjustments
The top row of panel buttons: basic adjustments and the essential retouching tools you'll reach for most.
Skin & Color Corrections
In beauty retouching, we spend most of our time on skin and makeup corrections. These functions save you time while giving you full freedom of customization.
How to use
Blot
Quickly "mattify" skin by reducing or removing oily shine — just like real-life blotting papers. Adjust the default skin tone to blend with your image.
How to use
Resurface
Fix mid-size skin issues too large for Healing Brushes and the Clone Stamp — dry skin patches, acne scarring, or rashes.
How to use
Blush & Palette
For a youthful, healthy look: petal pinks for fair skin; coral, mauve, and plum for olive skin; fuchsia, magenta, and hot pinks for darker skin.
How to use
Bronzer
Add a healthy, sun-kissed look, warm up flat skin tones, and add dimension to cheekbones. Visually slim down facial features, neck, and body.
How to use
Foundation Stick Pro
Even out visible blotchiness on the skin and apply color correction at the same time, in one step.
How to use
Color Correctors
Inspired by their real-life makeup counterparts. Peachy Orange, Green, Purple, and Blue each apply color corrections just like actual makeup correctors do.
Makeup & Face Details
Make quick, flattering adjustments to a face: brighten the eyes and teeth, add lashes, groom brow hairs, and enhance eye makeup.
Introduction tutorial — don't skip
Makeup Buttons Overview
Quick adjustments and corrections with the Lipstick, Blush, Highlight, Contour, Bronzer, Smokey Eye, and Eye Shadows buttons.
How to use
Eye Drops
Like a virtual drop of Visine! Clean eye whites, add light and vitality to the eyes, darken the lash line, and enhance the iris color when desired.
How to use
Lashes & Brow Kit
Use custom Lash brushes to draw in eye lashes and brow hairs. The Brow Kit adds brow makeup that looks even more natural than the real thing.
How to use
Eye Shadows & Palette
Arguably the most beloved and satisfying script on the panel! Add or adjust the color and darkness of eye shadows in your images.
How to use
Whiten Teeth
Literally the fastest way to naturally brighten teeth in your images. Adjust the intensity with a click of a button.
Bonus lesson
Bonus: AI-Powered Tools for Hair Retouching
An excerpt from our Hair Retouching course: AI-powered tools and selections for hair retouching.
Finish & Export
We took the guesswork out of the final post-production steps. Finalize and export your retouched images in the correct format for your website and social media.
How to use
Smart Liquify
Non-destructive shape adjustments: re-shape hair, outfits, or unflattering outlines of facial features. Use with care!
How to use
Sharpen
Sharpen the entire image or make certain elements more crisp and defined after retouching. Adjust the intensity to avoid an artificially "crunchy" look.
Bonus lesson
Bonus: PSD Structure
An excerpt from our Beauty Retouching for Beginners course: structure your working PSD files with intention and without needless bloating.
How to use
Add Your Watermark
Add your personalized logo or watermark so your images always lead back to you when re-posted online.
How to use
Add Text
Quickly add text to your online content. You have complete control over the font, color, size, and placement.
How to use
Save Your Image for Web
Export your finished images with the best settings for sharing on your website, social media, or anywhere else on the web.
How to use
Save for Instagram
Quick, simple crop and export for Instagram — the right size and aspect ratio for 4×5 and 1×1 feed posts and 9×16 IG Stories.
RA course overview
Master Skin Retouching
High-quality skin retouching goes far beyond generic photo editing. Our Skin Retouching course helps you produce work that meets industry standards.
Your RA Panel Member Discounts
As an RA Panel user, you have access to exclusive discounts on our courses and bundles. Copy a code, or use the linked button so the discount is applied automatically at checkout.
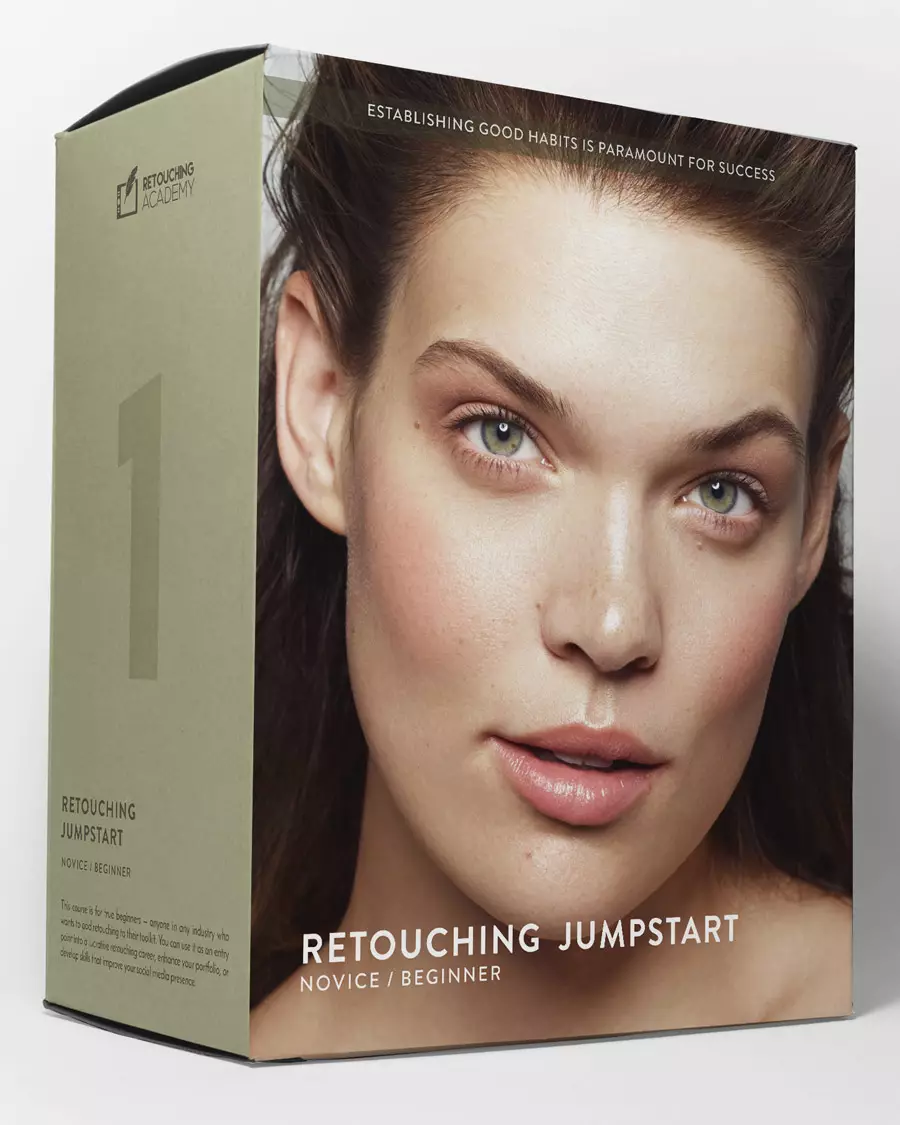
Beauty Retouching for Beginners
A detailed crash course with hands-on assignments for beginners learning retouching in Photoshop for portrait, beauty, and fashion photography. Course outline →

Master Dodge & Burn
Whichever tools you use, this course gives a deep understanding of the underlying principles and every nuance of the D&B technique. Course outline →
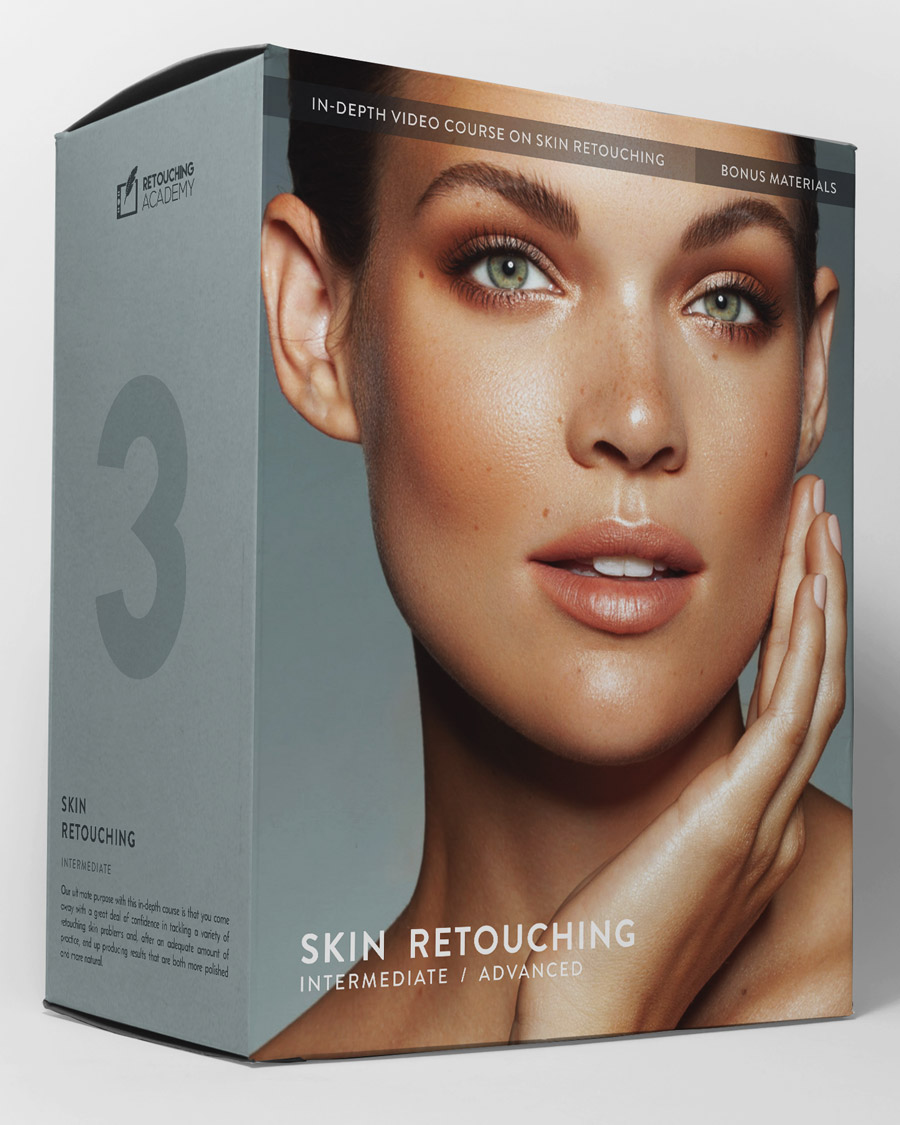
Skin Retouching Course
Over 7 hours of video lessons plus practice files, covering theory and hands-on practice to master professional skin retouching for beauty, portrait, and fashion. Course outline →

Pro Beauty Retouching
Learn beauty retouching at a professional level, beyond the technical skills. Especially valuable for freelancers serving brands in beauty, wellness, and other industries. Course outline →
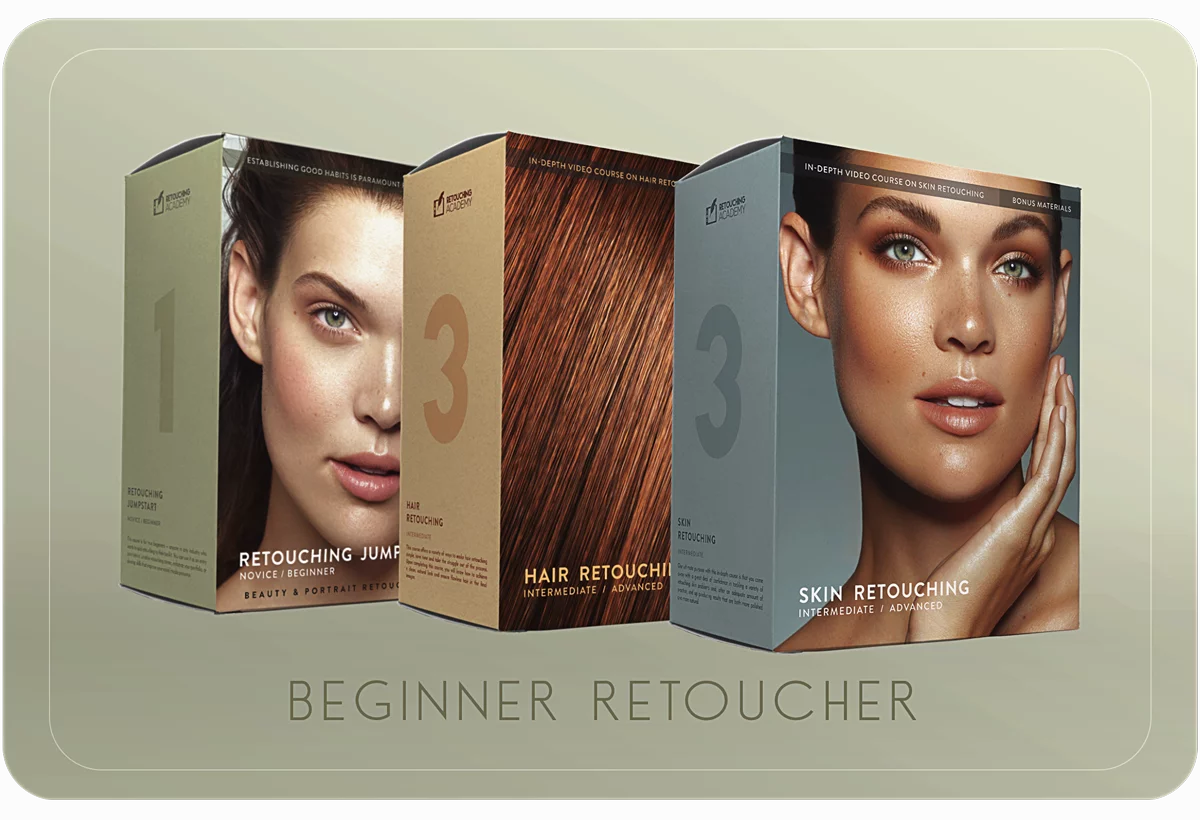
Beginner Retoucher Bundle
Three in-depth, practical courses to take you from complete beginner to capable beauty retoucher, with professional tools and practices under your belt. Bundle details →
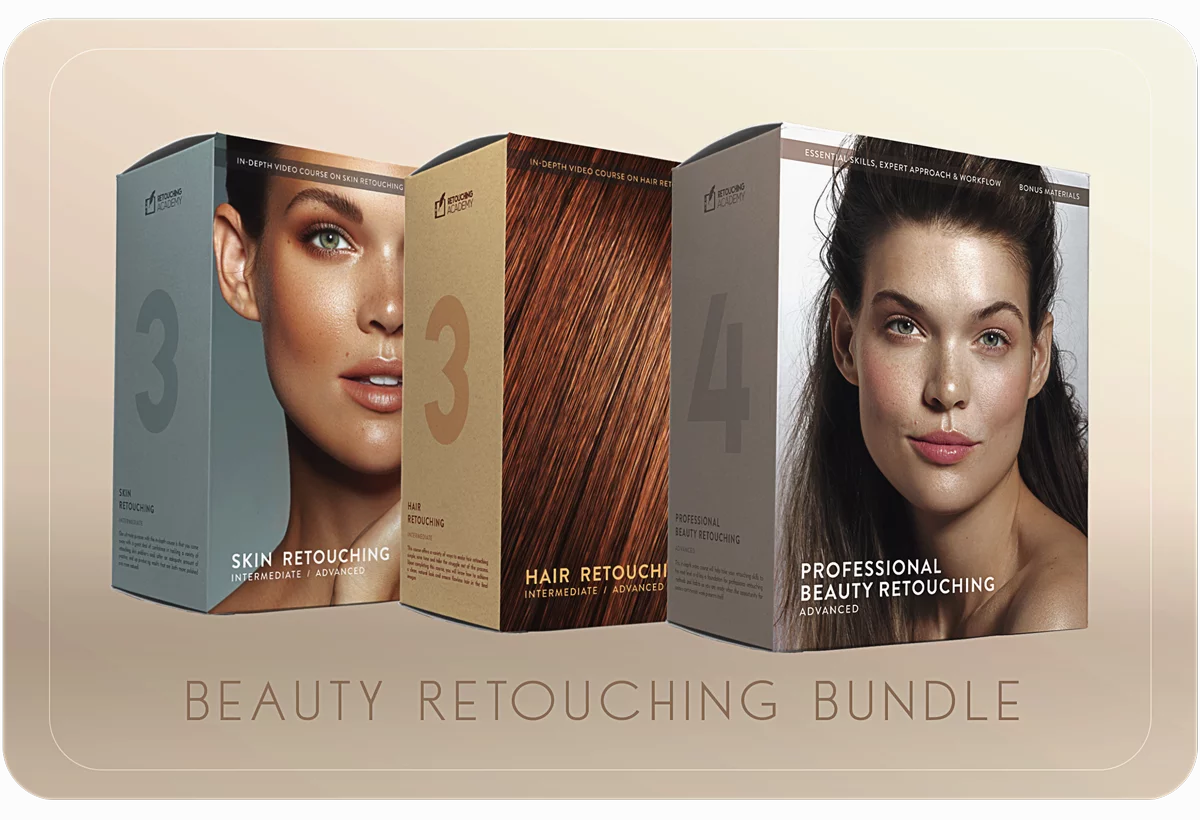
Beauty Retouch Bundle
Three in-depth courses offering theory and hands-on practice to help you master beauty retouching with pro-level understanding and methods. Bundle details →
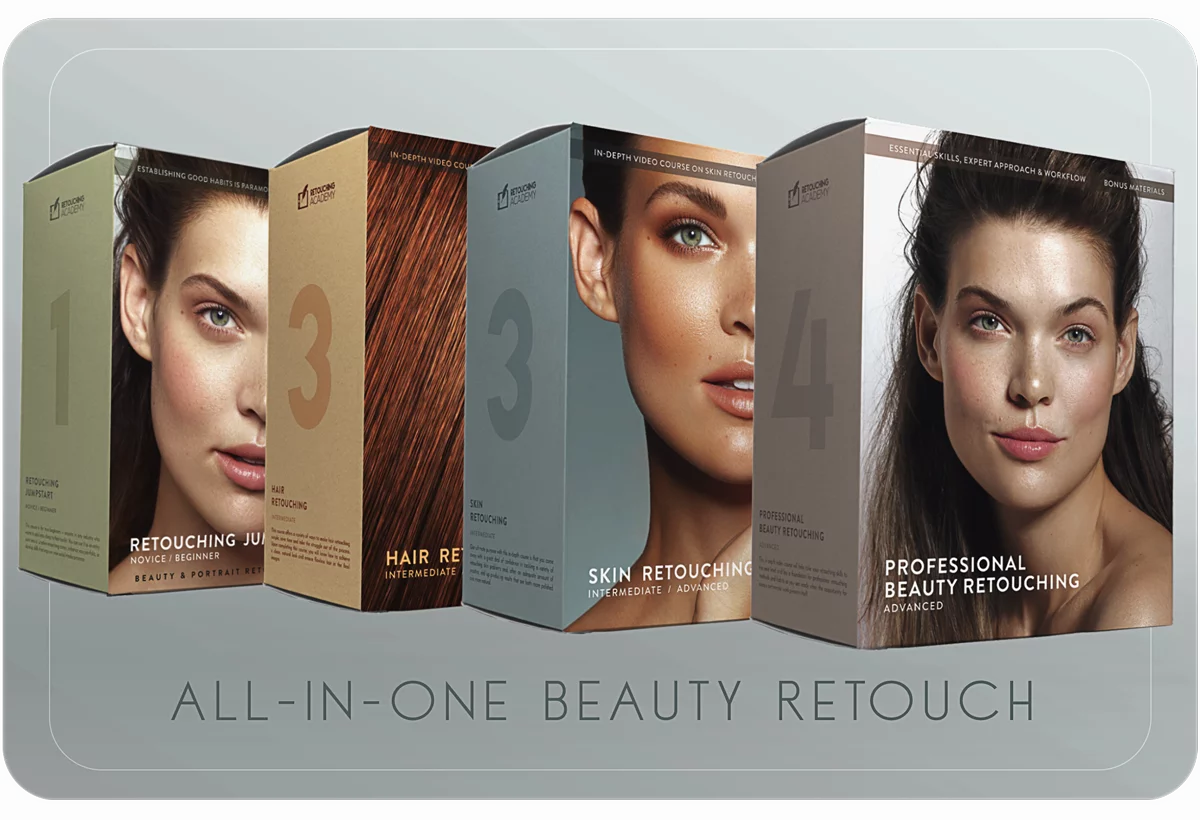
All-in-One Beauty Bundle
Four of our most impactful in-depth courses, pairing theory and hands-on practice to help you master beauty retouching at a professional level. Bundle details →
Questions? Need a hand?
If a code doesn't apply or you're having another issue, our friendly Support Team is one message away.