Beauty Retouch Panel Video Tutorials
Watch these short tutorials to get the most out of your Beauty Retouch v5, and get more high-quality work done faster. For linear progression training, take our free courses mentioned below.
Training Courses & Foundation
Our free training courses provide a step-by-step introduction to retouching with RA panels — to help you work faster, keep all of the necessary tools in one place, and save a lot of retouching time in the long run.
This linear training will introduce you to each section of the Beauty Retouch panel, and help you refine and streamline your retouching workflow.
► Enroll now
New to Adobe Photoshop? This course introduces you to the essential tools & concepts before you dive into beauty retouching.
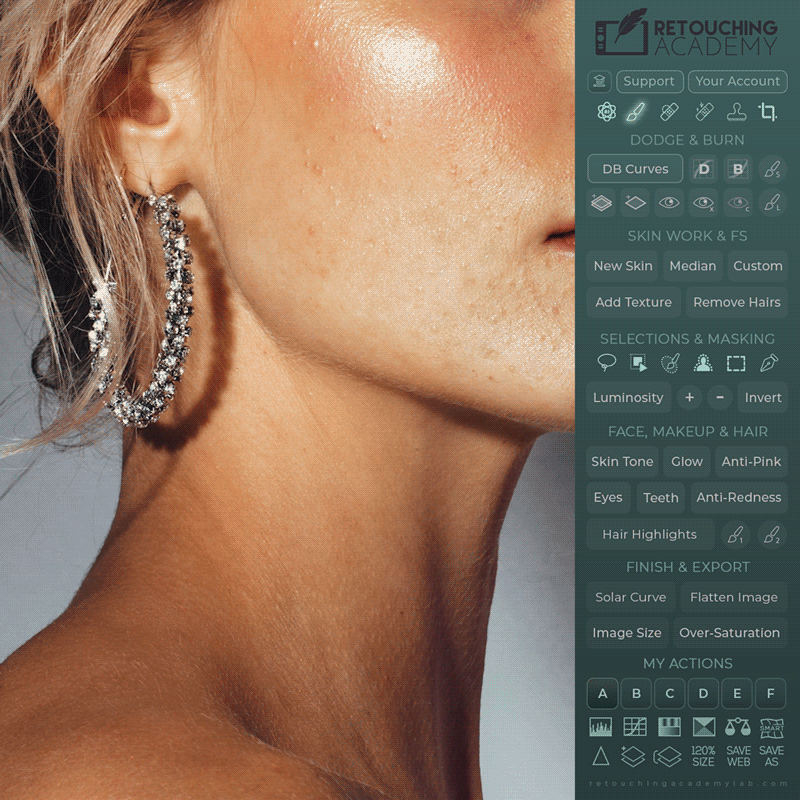
► Enroll nowMeet Beauty Retouch v5.0
This detailed interface overview walks through every section and every button — from the top to the bottom of the Beauty Retouch v5 panel.
Interface & Buttons ExplainedInstallation Guides
These short introduction lessons help you set everything up quickly. Got any questions? Visit the Panels Knowledge Base.
Introduction tutorial
Installation Steps
Follow these simple instructions to get the UXP panels installed in Photoshop in under a minute.
Introduction tutorial
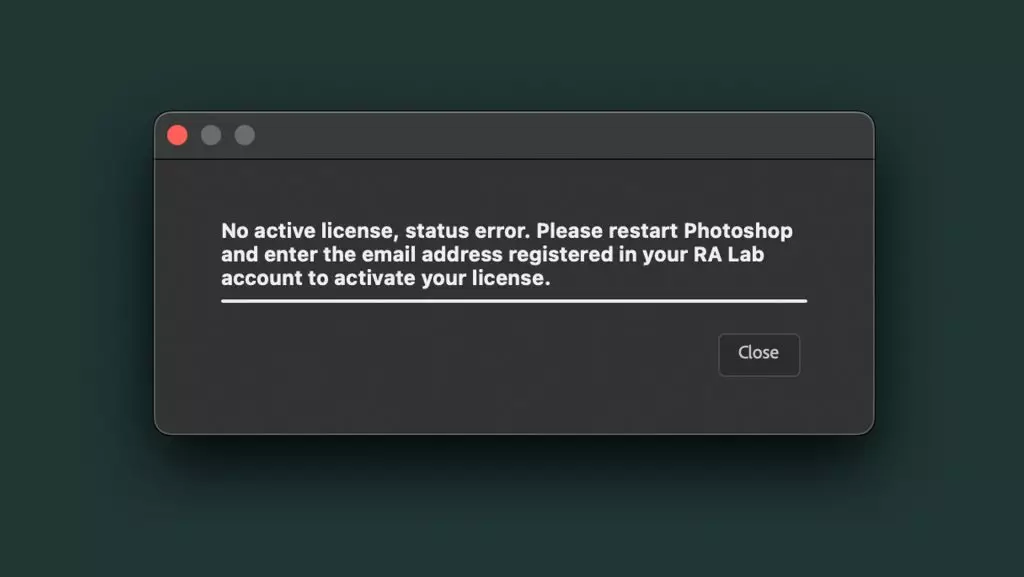
Reset Your Panel Activations
After you use up your panel license activations in Photoshop, simply reset them as described here.
Introduction tutorial
Add Your Own Custom Actions
Follow these steps to link your own custom actions and run them right from the panel's interface.
Face & Skin Retouching
In beauty retouching, we spend most of our time on skin and makeup. These functions save you time while giving you full freedom of customization.
How to use
Dodge & Burn Scripts
Use the Dodge & Burn (D&B) method that fits your workflow best — from Curves to 50% Mid Gray layers, in sets or individually. Learn more in the Dodge & Burn Scripts lesson.
How to use
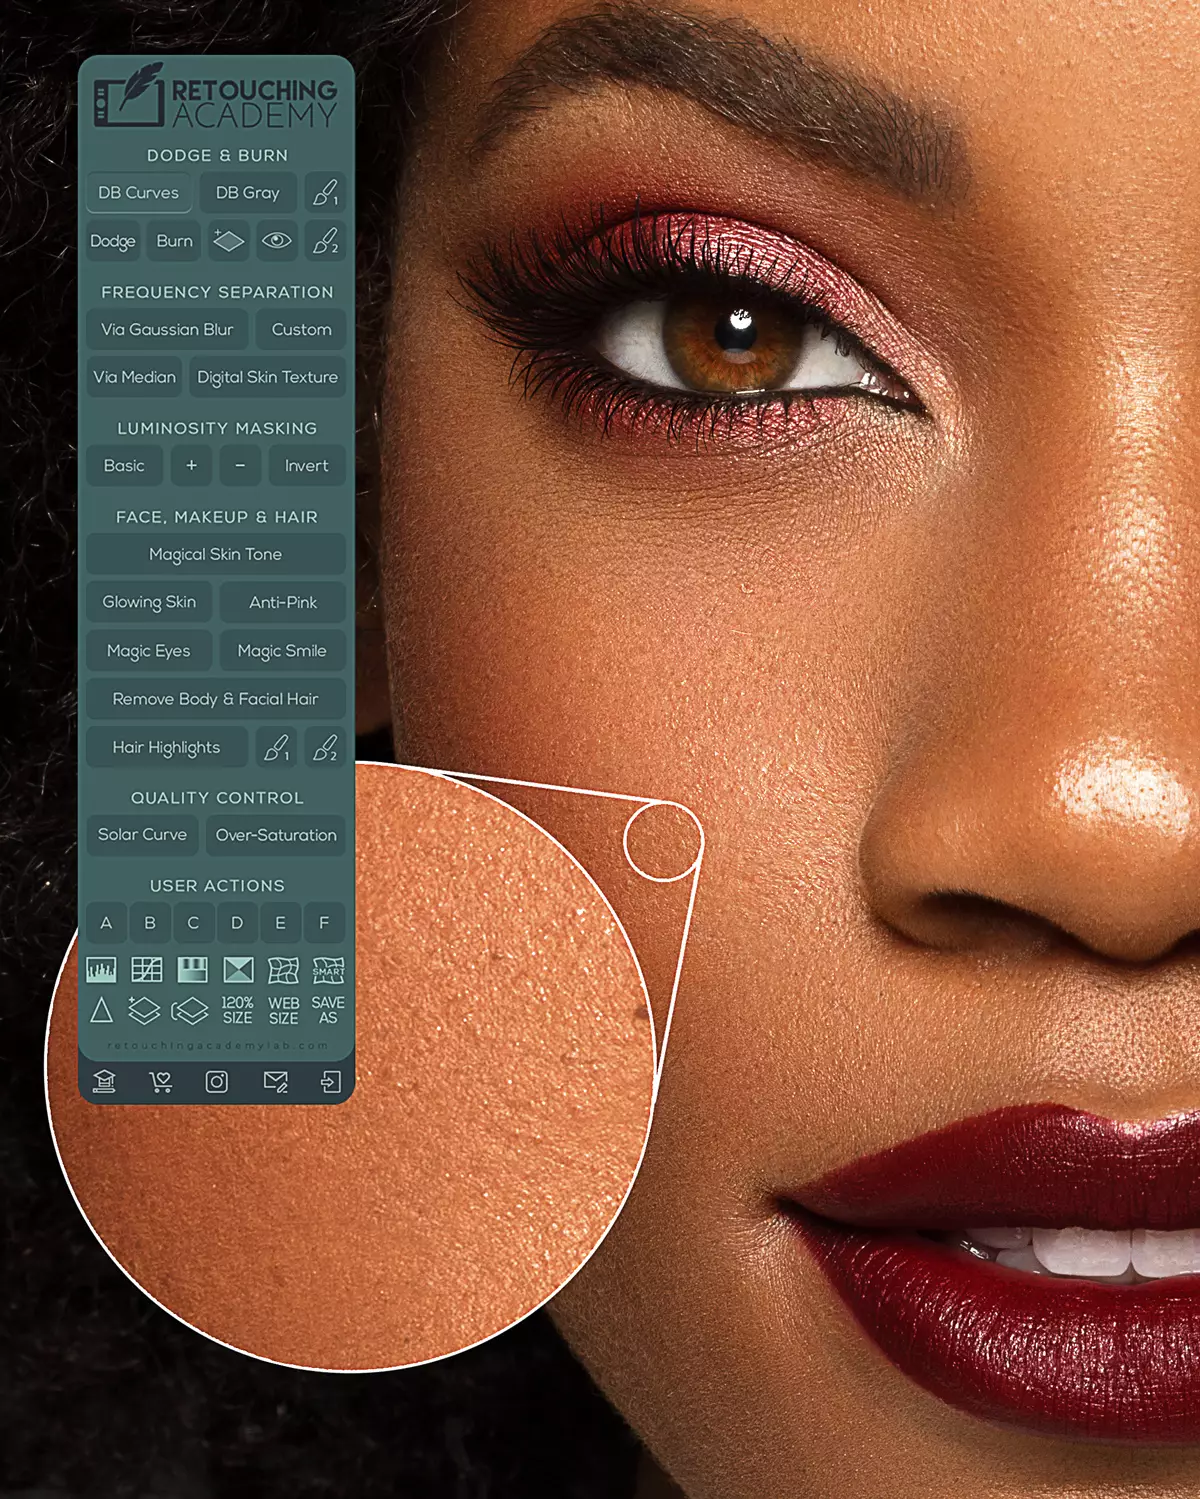
Skin Work & Frequency Separation
This section features a variety of scripts based on the Frequency Separation technique. Learn more in the Skin Work & Frequency Separation lesson.
How to use
The New Skin Button
Get all skin retouching done in a couple of minutes. Fully customizable, so your results are always under your control. Follow this detailed The New Skin Script lesson.
How to use
Skin Tone
Quickly correct color and saturation inconsistencies on the skin. Learn more in the Skin Tone Script lesson.
How to use
Add Texture
Restore skin texture after necessary heavy retouching. Learn more in the Add Texture Script lesson.
How to use
The AI Tool
Take your creativity to a whole new level. Learn more in the AI Tool lesson.
Face, Makeup & Hair
Make subtle, flattering adjustments: brighten the eyes and teeth, add hair highlights, and color grade with luminosity masking.
How to use
Eyes
Like a virtual drop of Visine — quickly add striking vitality to the eyes. Learn more in the Eyes Script lesson.
How to use
Teeth
Naturally brighten and whiten teeth quickly with this script. Learn more in the Teeth Script lesson.
Retouching lesson
Bonus: PSD File Structure
An excerpt from our Beauty Retouching for Beginners video course — manage your working PSD files like a pro.
How to use
Luminosity Masking
Precise luminosity-based selections are extremely powerful for advanced color grading and tonal adjustments. Learn more here.
How to use
Luminosity Masking (Original)
Regardless of the panel's different appearance, this tutorial also explains how to use the Luminosity selection buttons.
How to use
AI-Powered Tools for Hair Retouching
An excerpt from our Hair Retouching course: AI-powered tools and selections for hair retouching.
Quality Control & Export
We took the guesswork out of the final post-production steps. Finalize and export retouched images in the correct format for your website and social media.
How to use
Smart Liquify
Non-destructive shape adjustments: re-shape hair, outfits, or unflattering outlines of facial features. Learn more in the Smart Liquify Script lesson.
How to use
Sharpen
Sharpen the entire image or make certain elements more defined. Learn more in the Sharpen Script lesson.
How to use
Solar Curve
Easily locate sensor dust spots and other unwanted artifacts. Learn more in the Solar Curve Script lesson.
How to use
Save Your Image for Web
Export finished images with the best settings for sharing on your website and social media. Learn more in the Enlarge & Export Scripts lesson.
Retouching lesson
Post-FS Steps For Lean Workflow
FS can unnecessarily increase file size and block off layers in the PSD stack. Learn to minimize these side effects in the Merging FS Layers for Lean PSD lesson.
Retouching Pro Tips
Pro tips to get more quality work done efficiently — and avoid common beginner mistakes.
RA course overview
Master Skin Retouching
High-quality skin retouching goes far beyond generic photo editing. Our Skin Retouching course helps you produce work that meets industry standards.
Retouching lesson
Bonus: Fixing Chapped Lips
An excerpt from our Skin Retouching course: how to fix cracked, dry, or chapped lips using FS.
Your RA Panel
Member Discounts
As an RA Panel user, you have access to exclusive discounts on our courses and bundles. Copy a code, or use the linked button so the discount is applied automatically at checkout.
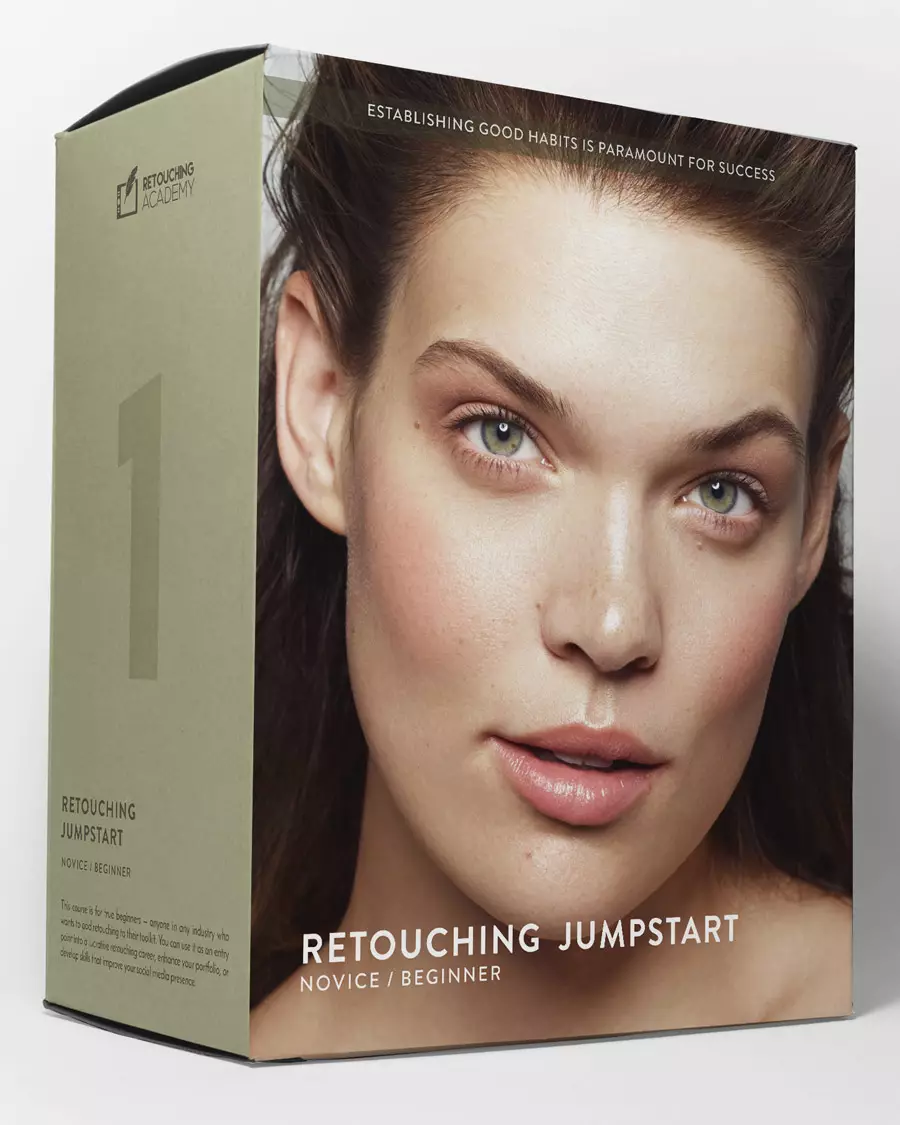
Beauty Retouching for Beginners
A detailed crash course with hands-on assignments for beginners learning retouching in Photoshop for portrait, beauty, and fashion photography. Course outline →

Master Dodge & Burn
Whichever tools you use, this course gives a deep understanding of the underlying principles and every nuance of the D&B technique. Course outline →
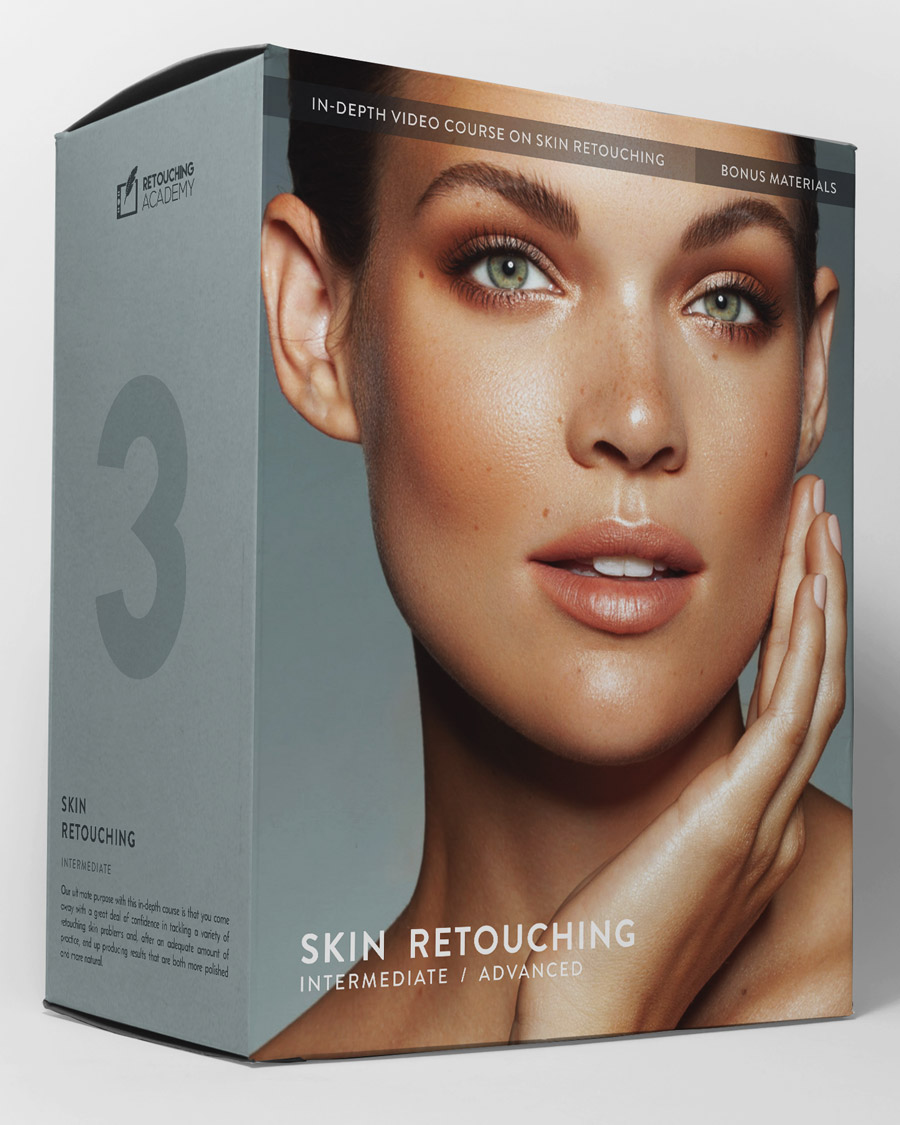
Skin Retouching Course
Over 7 hours of video lessons plus practice files, covering theory and hands-on practice to master professional skin retouching for beauty, portrait, and fashion. Course outline →

Pro Beauty Retouching
Learn beauty retouching at a professional level, beyond the technical skills. Especially valuable for freelancers serving brands in beauty, wellness, and other industries. Course outline →
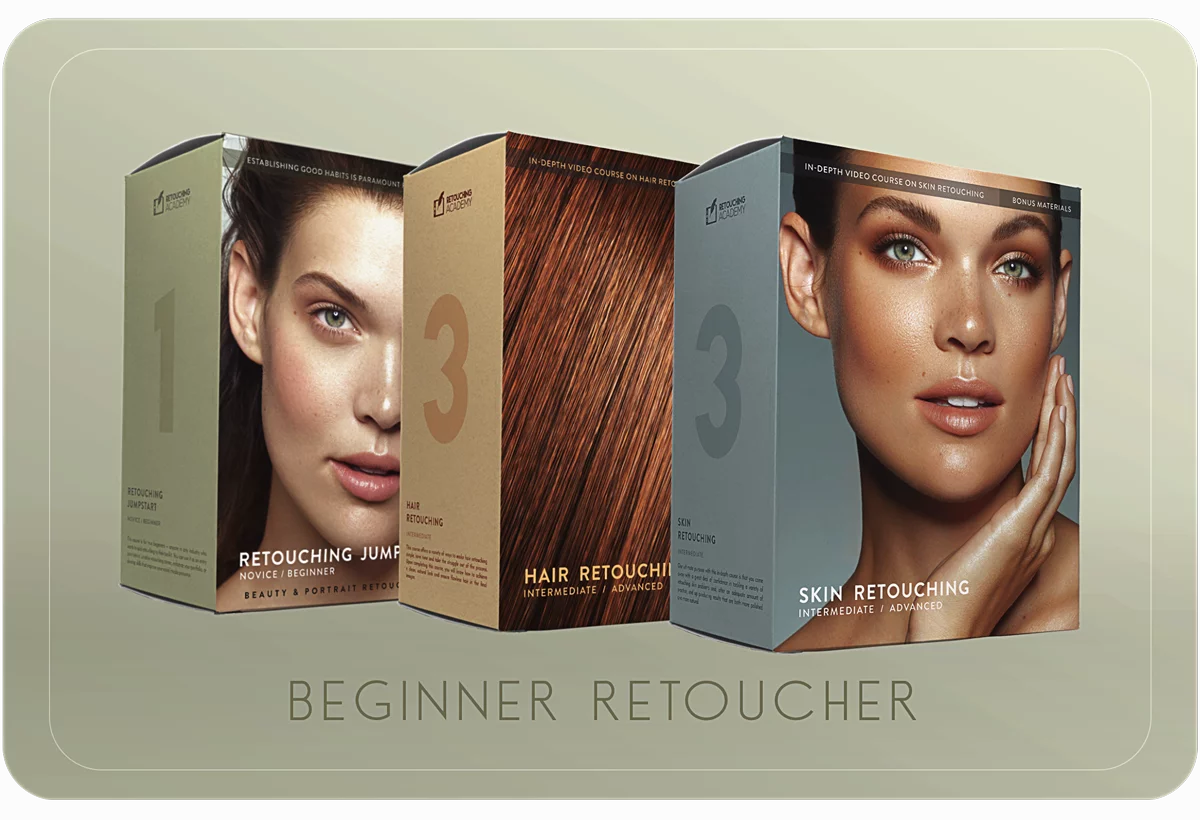
Beginner Retoucher Bundle
Three in-depth, practical courses to take you from complete beginner to capable beauty retoucher, with professional tools and practices under your belt.
Bundle details →
automatically
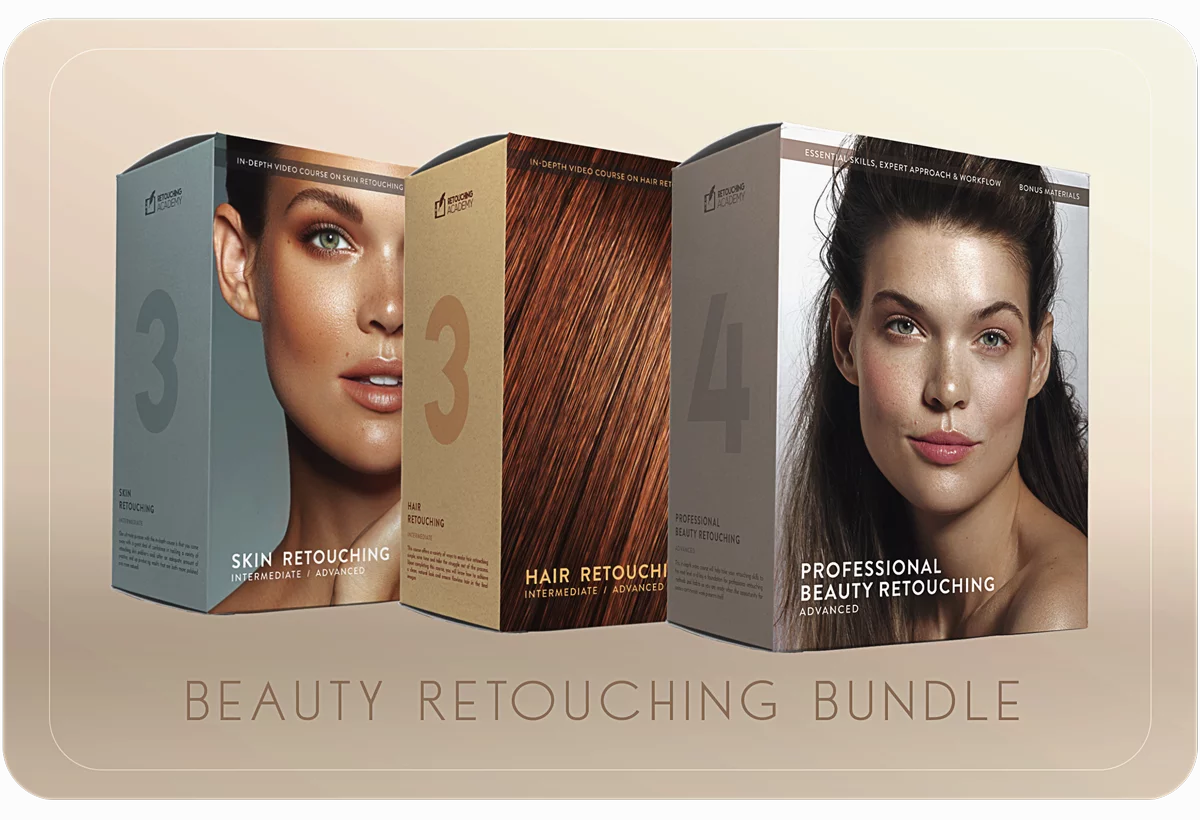
Beauty Retouch Bundle
Three in-depth courses offering theory and hands-on practice to help you master beauty retouching with pro-level understanding and methods.
Bundle details →
automatically
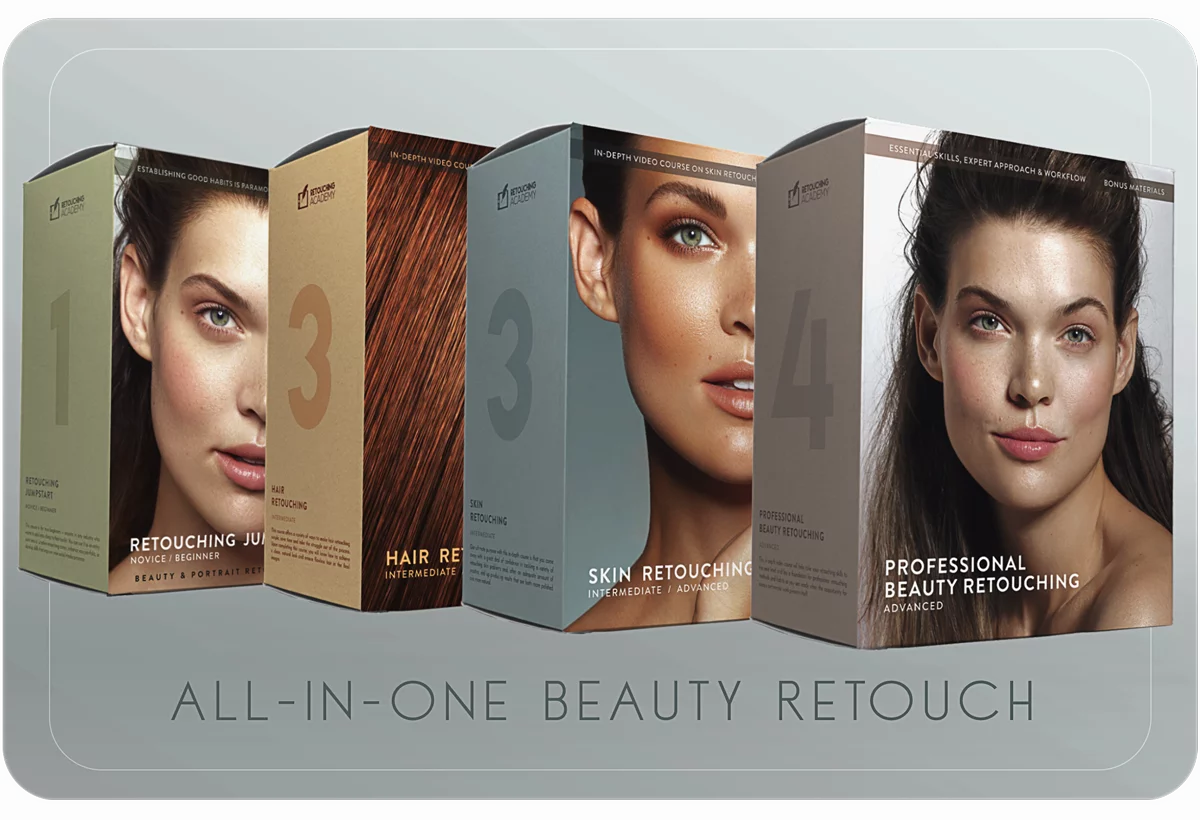
All-in-One Beauty Bundle
Four of our most impactful in-depth courses, pairing theory and hands-on practice to help you master beauty retouching at a professional level.
Bundle details →
automatically
Questions? Need a hand?
If a code doesn't apply or you're having another issue, our friendly Support Team is one message away.