Beauty Retouch v3.3 Panel Update
UPDATE: September 26, 2019
Los Angeles, CA
We have not received any error reports during the few weeks that the Beauty Retouch v3.3 Beta panels have been tested (Mac, Win & CS6 versions). The new installation files have now been moved to the main Member Area along with the updated User Manual, please use the same instructions to install the Beauty Retouch v3.3 on your computer: https://retouchingacademylab.com/faq-br/
August 31, 2019
Los Angeles, CA
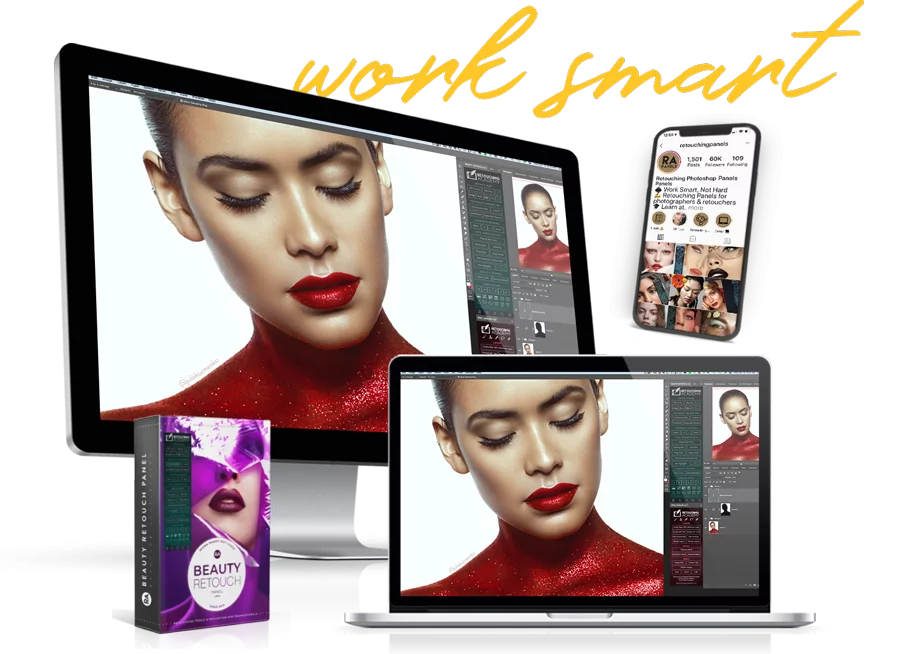
It’s been 6 years since the Beauty Retouch panel was first released and became an invaluable part of the workflow for dozens of thousands of retouching artists around the globe.
It’s gone through a few UI and functionality changes, but we continue to search for new ways to make it even better. We heavily rely on our users’ feedback and, this time, instead of running a small beta-testing operation inside our Facebook RA Group, we decided to let any and all of our users participate in it.
WHAT’S CHANGED

INTERFACE:
While the look of the panel has not changed much, it now supports retina displays.
BUTTONS:
LIQUIFY & SHARPEN BUTTONS
We’ve moved the Liquify and Sharpen Image buttons down and converted them into icons. We’ve also added a Smart Liquify button, which creates a stamped visible layer at the top of your PSD stack, converts it into a Smart Object and opens the Liquify filter dialog window: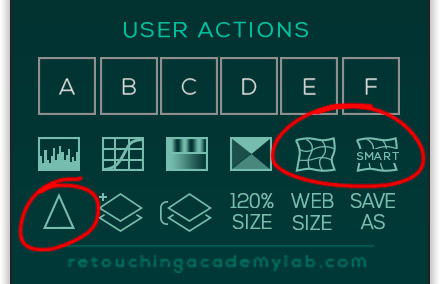
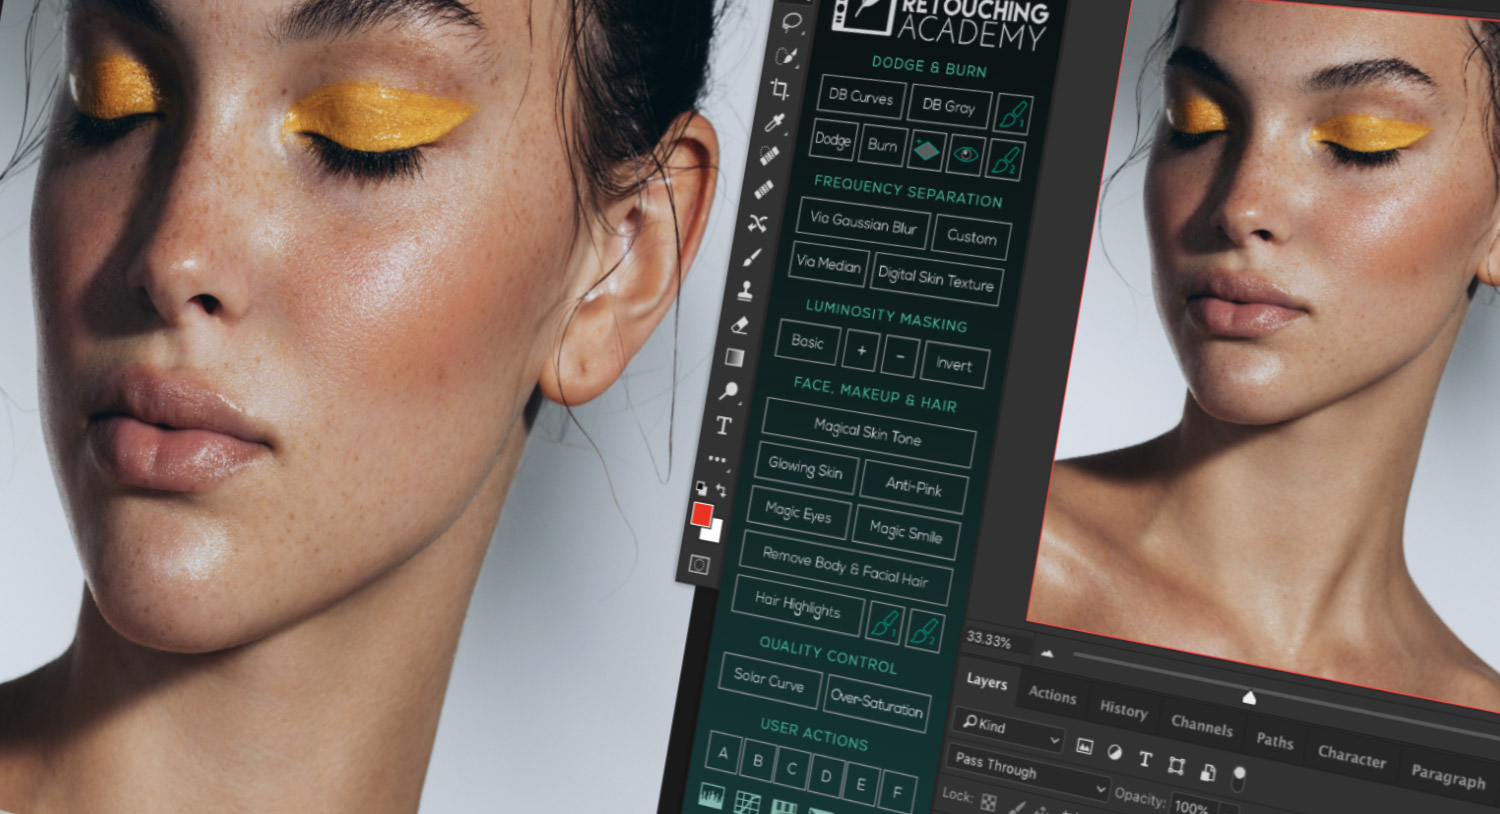
THE DODGE & BURN SECTION
The Dodge & Burn section has been re-arranged:
– we’ve moved the D&B Mid Gray Layer Set to the upper row – DB Gray, the script itself has not been changed;
– we’ve converted the Visual Aid button into an Eye icon ?;
– we’ve added a single Gray layer button – it’s the gray layer with a plus icon to the left of the eye icon button:
– the rest of the buttons and their scripts have not been changed, including the DB brushes.
THE FREQUENCY SEPARATION SECTION
The Frequency Separation section:
– the 16-bit and the 8-bit FS buttons have been combined into one button: Via Gaussian Blur. The script will determine whether you are working in a 16- or 8-bit file and trigger the respective FS action;
– we’ve added a new FS action that uses the Median filter instead of the Gaussian Blur for cleaner edges in an image – Via Median. I personally have been using this action for many years now via my Custom Actions, so I’m excited that it finally made it to the main Frequency Separation section on the panel: – the rest of the buttons and their scripts have not been changed.
OTHER CHANGES
We’ve combined the Beauty Face & Hair Sections, but the actual buttons and their scripts have not been changed.
We’ve added the Add New Layer button (layers with a plus) and it sits to the left of the Stamp Layers button at the bottom of the panel. The rest of the buttons and their scripts have not been changed (except for the added Liquify & Sharpen Image buttons mentioned earlier):
Bottom links – we’ve added direct links to some useful pages for your and all of our new users’ convenience. Each button has a little description pop-up, so it will be easy for you to navigate:
MAGIC EYES SCRIPT VIDEO TUTORIAL
The script has not changed in this version, but we’ve recently published an updated video tutorial for the Magic Eyes script, and you can find more video tutorials for the RA Panel users on our Video Tutorials page.
RA PANELS INSTAGRAM
As always, share your screen and workplace images with us and the RA Panels’ users around the globe by tagging us in your IG posts and stories. Use hashtags #rapanels #beautyretouchpanel and tag us directly by adding @retouchingpanels into your feed captions or in your stories.

Featured image:
Photography and post-production @juliakuzmenko
Model @kensnation
Makeup and hair by @lupemoreno_mua